Introduction
TDM allows you to add external data sources to display real-time information within your presentations. The following external data sources are supported:
-
Facebook
-
Twitter
-
Instagram
-
Yahoo Weather
-
Office365 Calendar
-
Google Calendar
-
Flickr
-
Yammer
-
LinkedIn
-
Exchange
-
Power BI
-
NS
-
Axis (People Counter Camera)
-
HIKVision (People Counter Camera)
-
Amadeus
-
Realworks
This guide explains how to add and configure the Amadeus data source.
Note: The Amadeus data source is fully supported starting from TDM version 4.4 and above.
Important Information
TDM does not communicate directly with Amadeus to retrieve meeting information.
Currently, Amadeus supports exporting meeting data as a CSV file. However, it cannot export data directly as XML, nor is this data hosted on a web server by default.
Therefore, some preparation is required to make the Amadeus data source functional in TDM.
TDM offers a solution by:
-
Converting your CSV file to a usable XML format, and
-
Hosting the XML file online so that it’s accessible from the TDM Designer and your devices.
This hosting is necessary for TDM to retrieve and display the data properly.
If you need assistance, contact our support team at:- support@tdmsignage.com
- +31 (0)20 261 0985
Requirements
To add an Amadeus data source, you need:
-
Administrator access to the TDM Designer
-
An XML file hosted on a web server
-
The XML file must be accessible from TDM’s web servers
-
TDM version 4.4 or higher
How to Add an Amadeus Data Source
-
Log in to the TDM Designer with an administrator account:
https://designer.tdmsignage.com -
Open the Config Panel.

-
Select the tab called External Data.
-
Click the + button on the right-hand side to create a new data source.

-
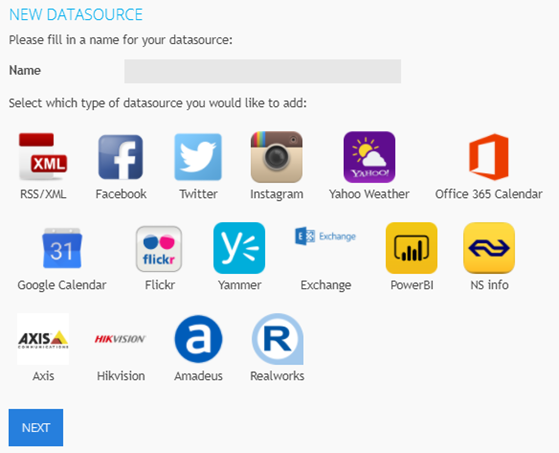
In the pop-up window, enter a name for your data source and select Amadeus as the data source type. Click Next.
-
In the next window, enter the custom URL of your hosted XML file.
Once entered, click Save.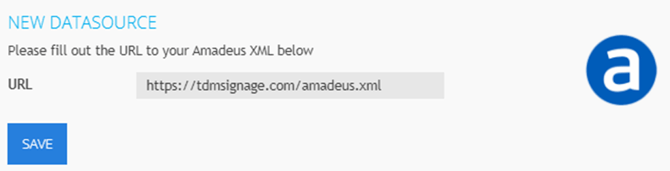
-
Your Amadeus data source is now created.
You can preview the data by selecting the eye icon in front of the data source.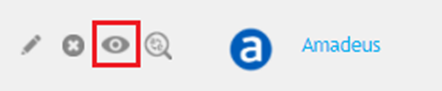
The Amadeus data source can be used for room booking functionality.
If you would like to configure a room booking solution, please refer to the TDM Room Booking manual for detailed instructions.