Introduction
In some cases, you may notice that the subject field on your display shows the organizer’s name instead of the actual meeting subject, or that details from private meetings are being displayed.
These settings are known as room properties and can only be configured using PowerShell.
This guide explains how to adjust these room properties for your Exchange environment.
Note: The PowerShell commands you need to enter are shown in bold for clarity.
Supported Exchange Versions
This procedure applies to the following versions of Microsoft Exchange:
-
Exchange Server 2010 Standard and Enterprise
-
Exchange Server 2013 Standard and Enterprise
-
Exchange Server 2016 Standard and Enterprise
Requirements
To configure room properties using PowerShell, you need:
-
Administrator permissions for your Exchange environment
-
Basic knowledge of PowerShell
How to Configure Exchange Room Properties with PowerShell
-
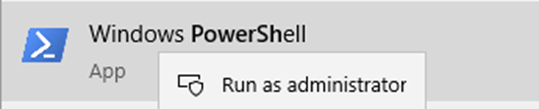
Open PowerShell as Administrator. Search for PowerShell on your computer. Right-click the icon and select Run as Administrator.
-
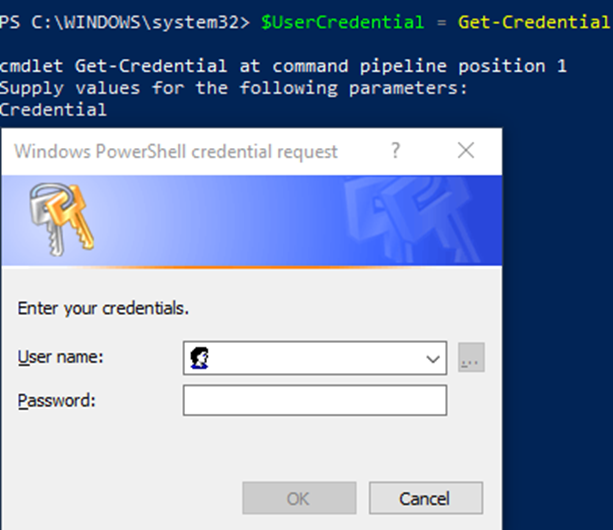
Enter your credentials
$UserCredential = Get-CredentialA pop-up window will appear — enter your Office 365 administrator credentials.
- Enter the following command (Do not forget to change the URL of Exchange in the command): $Session = New-PSSession -ConfigurationName Microsoft.Exchange -ConnectionUri http://<ServerFQDN>/PowerShell/ -Authentication Kerberos -Credential $UserCredential
- Afterwards enter the following command:
Import-PSSession $Session –DisableNameChecking - Now you are able to look into the properties of your rooms. To check the properties, please use the following command (please change the <EmailAddressOfTheRoom> with the proper name of the room):
For Exchange Server 2016, Exchange Server 2013 or Exchange Server 2010:
Get-CalendarProcessing -Identity <EmailAddressOfTheRoom> | FL
Exchange Server 2007:
Get-MailboxCalendarSettings -identity <EmailAddressOfTheRoom> | FL - To configure the room correctly, please use the following command (please change the <EmailAddressOfTheRoom> with the proper name of the room):
For Exchange Server 2016, Exchange Server 2013 or Exchange Server 2010:
Set-CalendarProcessing -Identity <EmailAddressOfTheRoom> -DeleteSubject $False -AddOrganizerToSubject $False
Exchange Server 2007:
Set-MailboxCalendarSettings -Identity <EmailAddressOfTheRoom> -AutomateProcessing AutoAccept -AddOrganizerToSubject $False -DeleteSubject $False
-DeleteSubject: If this option is enabled it will remove the original subject from the appointments.
-AddOrganizerToSubject: if this option is enabled it adds the organizer to the subject value.
✅ You have now successfully configured your Exchange room properties using PowerShell.