Introduction
With TDM Digital Signage, you have the ability to create users and user groups. Users can be assigned to a group, allowing you to distinguish users between different locations. To prevent the need to set rights for every user individually, you can choose to assign rights to a group. This way, all users in the group will automatically receive the rights given to that group.
Every user will be assigned a role, and each role has its own rights. This means you can manage which user has access to which part of the TDM platform. Please find a description of the user roles below:
Administrator
Full control. Access to all functionality and content. Able to create and manage user accounts.
Message Editor
Able to create pages based on templates. A content creator can add these pages to an existing playlist or create a new playlist. A content creator cannot add playlists to a presentation. If no rights have been set, the user does not have access to any template.
Power User
Power users have the same rights as content creators, except that a power user can create new templates and masterpages. A power user can also manage templates to which they have access. If no rights have been set, the user does not have access to any template.
Display Manager
Display managers are able to create masterpages, pages, playlists, and presentations. A display manager can also assign presentations to players and create and manage schedules.
Content Permission System
By default, no rights are set for any type of content. As soon as rights are assigned to a user or group, the content can be used.
-
Eye: If the eye icon is visible, the user can see the content. If the eye icon contains a cross, it will not be visible for the user.
-
Pencil: If the pencil icon is visible, the user can edit the content. If the pencil icon contains a cross, it will not be editable for the user.
-
Garbage can: If the garbage can icon is visible, the user can delete the content. If the garbage can icon contains a cross, the user cannot delete the content.
Note: When deleting content, it will be moved to Deleted Items. This section is only available to Administrators, who have the option to restore specific or all deleted content.
Requirements
If you want to manage users and permissions, you need to meet the following requirements:
-
Have administrator access to the TDM Designer.
How To Manage Users and Permissions
How to Create Users and User Groups within TDM
-
Log in to the Designer with an administrator account: https://designer.tdmsignage.com
-
Select the tab called “Administration” and then select “User Management.”
-
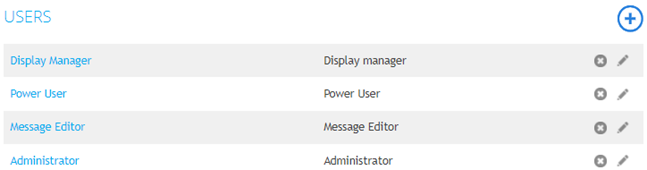
In the page that opens, you have the ability to create and edit your users and groups.
-
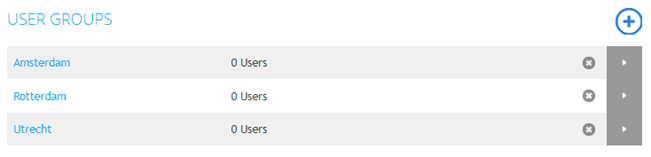
Select the “+” button on the right side of Users to create a new user, or select the “+” button on the right side of Groups to create a new group.

-
If you create a new user, there are a few configuration options. A short description can be found below:
-
Name: The name of the user.
-
Role: The role you want to assign to the user.
-
Email address: The email address of the user. This will also be the username when logging into the Designer.
-
Password: The password of the user.
-
Authentication options: You can choose if you want to use 2FA for every user (needs to be enabled in the Config Panel as well).
-
Groups: The group you want to assign to your user.
Repeat the steps until you have created all the users and user groups you need.
How to Configure Permissions for Masterpages
- It is possible to set permissions for each type of content. This means that you can set permissions for your masterpages, templates, pages, playlists, presentations, and media. We will start with setting permissions for masterpages.
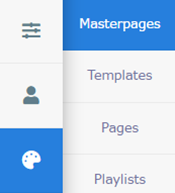
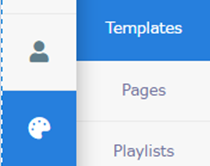
- Select “Content Creation” and then select “Masterpages.”
-
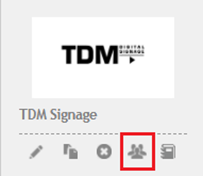
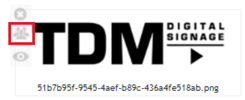
Select the permission icon located beneath the preview of your masterpage.
-
In the pop-up that opens, you can set permissions for users and user groups. By default, no permissions are set. Once you tick a user or user group, the permission icons will become visible, allowing you to allow or deny an action by ticking the respective permission icon.

How to Configure Permissions for Templates
-
Select “Content Creation” and then select “Templates.”
-
Select the permission icon located beneath the preview of your template.
-
In the pop-up that opens, you can set permissions for users and user groups. By default, no permissions are set. Once you tick a user or user group, the permission icons will become visible, allowing you to allow or deny an action by ticking the respective permission icon.

For templates, it is only possible to make the template visible or not visible. If a template is visible for a user, they will have the ability to create pages based on the template.
Please note that Power Users have the ability to access the Templates section of the Designer. If you set permissions for a Power User, they can edit the template.
Good to know: You can also set permissions for folders. This works the same way by selecting the permission icon located to the right side of the folder icon. This is commonly used when different locations have access to the Designer and you want to separate the content for each location.
How to Configure Permissions for Pages
-
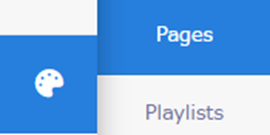
Select “Content Creation” and then select “Pages.”
-
Select the permission icon located beneath the preview of your page.
-
In the pop-up that opens, you can set permissions for users and user groups. By default, no permissions are set. Once you tick a user or user group, the permission icons will become visible, allowing you to allow or deny an action by ticking the respective permission icon.
Good to know: You can also set permissions for folders. This works the same way by selecting the permission icon located to the right side of the folder icon. This is commonly used when different locations have access to the Designer and you want to separate the content for each location.
Please note that content users can also set permissions for content they have created. This allows them to easily share pages between users.
How to Configure Permissions for Playlists
-
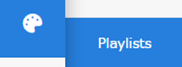
Select “Content Creation” and then select “Playlists.”
-
Select the permission icon located on the right side of your playlist name.

-
In the pop-up that opens, you can set permissions for users and user groups. By default, no permissions are set. Once you tick a user or user group, the permission icons will become visible, allowing you to allow or deny an action by ticking the respective permission icon.
How to Configure Permissions for Presentations
-
Select “Content Creation” and then select “Presentations.”
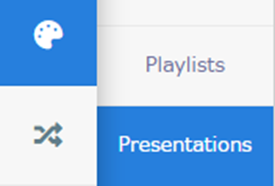
-
Select the permission icon located on the right side of your presentation name.
-
In the pop-up that opens, you can set permissions for users and user groups. By default, no permissions are set. Once you tick a user or user group, the permission icons will become visible, allowing you to allow or deny an action by ticking the respective permission icon.
How to Configure Permissions for Your Media
-
Select “Content Creation” and then select “Media.”
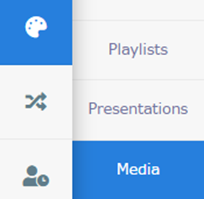
-
Select the permission icon located on the left side of your media file.
-
In the pop-up that opens, you can set permissions for users and user groups. By default, no permissions are set. Once you tick a user or user group, the permission icons will become visible, allowing you to allow or deny an action by ticking the respective permission icon.
Good to know: You can also set permissions for media folders. This works the same way by selecting the permission icon located to the left side of the folder icon. This is commonly used when different locations have access to the Designer and you want to separate the content for each location.
Now you have successfully set the permissions for your users and user groups. You can verify the permissions by logging in with a different user account and checking if everything works as expected.