Introduction
Starting with version 4.3 of the TDM Designer, a new authentication method is used for creating Office365 data sources.
This method is based on the OAuth2.0 protocol.
With this new authentication method, several steps have changed in the login procedure.
You are now required to configure a Client ID, Client Secret, and Tenant ID, which are obtained by creating an Azure application within your Office365 environment.
This guide explains how to create the Azure application and how to configure Office365 within TDM using OAuth2.0 authentication.
Requirements
To create and configure an Azure application for Office365, you need:
-
Access to the Azure platform with permissions to create applications
-
Permission to grant admin consent on applications
-
Administrator access to your Office365 environment
-
Access to the service account that will be used in TDM
-
The Client ID, Tenant ID, and Client Secret generated from your Azure application
How to Create an Azure Application for Office365
-
Sign in with your Office365 account at:
https://portal.azure.com/ -
Select Azure Active Directory.
Select App registrations.

Click New registration.

Fill in a name for your application, for example: Office365 for TDM
-
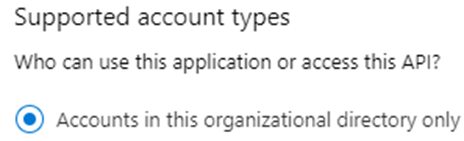
Under Supported account types, select: Accounts in this organizational directory only
-
Configure the following Redirect URL:
https://socialmedia.tdmsignage.com/connect/office365.aspx
Make sure a Web platform is selected before adding the URL.
If you need to edit this later, go to the Authentication tab → Add a platform → select Web, then enter the URL above. -
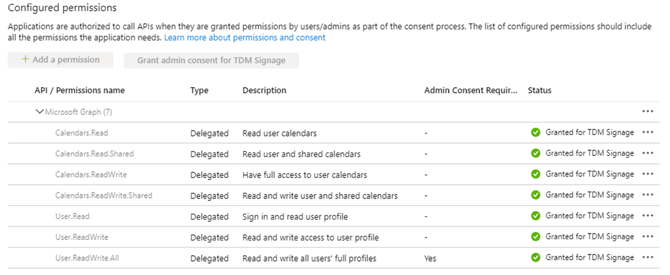
Once the application has been created, go to the API permissions tab and configure the required permissions. Don’t forget to grant Admin consent for your tenant.
-
Next, go to the Certificates & Secrets tab.

Click New client secret, add a description (e.g. Office365 for TDM), and click Add. -
Once the client secret is created, copy the value immediately — it will be encrypted once you leave the page.
The Tenant ID and Client ID can be found under the Overview tab.
You have now successfully created your Azure application. The Client ID, Tenant ID, and Client Secret will be used inside the TDM Designer.
How to Configure Delegated Users
-
Log in with an administrator account at: https://login.microsoftonline.com
-
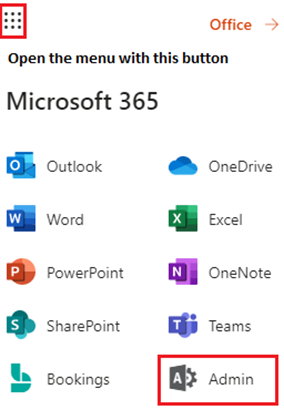
Open the main menu in the top-left corner and select Admin.
-
Click Show all in the left-hand menu.

-
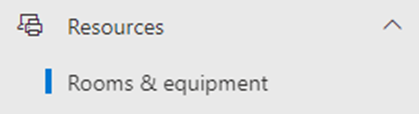
Select Resources → Rooms & Equipment.
-
Choose the room (e.g. room01@tdmsignage.com).

-
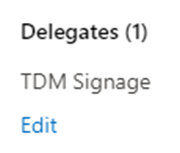
Under Delegates, click Edit.
-
Add the service account you want to use for your data sources as a delegated user, then click Save Changes.
It can take up to 24 hours before these changes are fully active in Office365.
How to Add Office365 Based on OAuth2.0 Using a Custom Azure Application
-
Log in to the TDM Designer with an administrator account:
https://designer.tdmsignage.com/ -
Select Config Panel from the left-hand menu.

-
Open the tab Authentication Options.

-
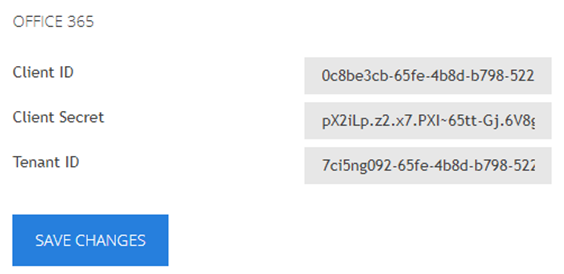
Enter the Client ID, Client Secret, and Tenant ID obtained from your Azure application. Click Save Changes.
-
Now open the tab External Data to access the overview of your data sources.
-
Click the “+” button on the right-hand side to create a new data source.

-
In the pop-up, name your data source (e.g. Office365 Meeting Room 1), then select Office365 Calendar and click Next.
-
You will be redirected to the Microsoft login page. Log in using your service account that has access to the desired calendar or room. Once successfully logged in, the window will close and you will return to the TDM Designer.
-
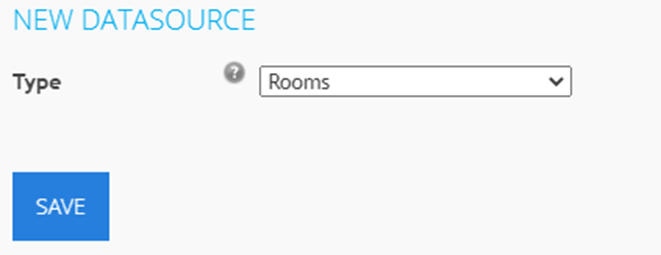
Choose the resource type you want to add:
-
Rooms: Use this option for room resources created in the Office365 Admin Center.
-
Calendars: Use this option for a personal calendar from a specific user.
-
-
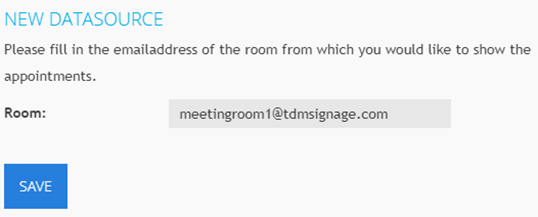
Depending on your choice:
-
Rooms: Enter the room’s email address (e.g. meetingroom1@tdmsignage.com), then click Save.
-
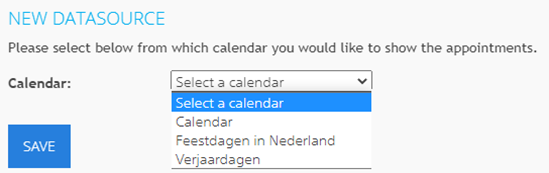
Calendars: Select the desired calendar from the dropdown list, then click Save.
-
You have now successfully created your Office365 data source in TDM.
You can use this data source within your template design or assign it to a Meeting Room Solution.