Introduction
From version 4.1 and higher, it is possible to add Power BI as an external data source. To use this functionality, it is required to configure the Tenant ID, Client ID, and Client Secret of your Azure application. Please check the related articles or search for “Power BI” to find the manual explaining how to create the Azure application.
This guide explains how the external data source can be created in the Designer and how the Power BI element can be used within your template design.
Requirements
If you want to set up Power BI in the Designer, you need to meet the following requirements:
-
Have administrator access to the TDM Designer
-
Have the Client ID, Tenant ID, and Client Secret values available — they will be used when creating the data source
-
Have access to the Azure platform and the permissions to create applications
-
Have permissions within the Azure platform to grant admin consent for applications
How to Create an Azure Application for Power BI
-
Sign in with your account at: https://portal.azure.com
-
Select Azure Active Directory.
Select App registrations.

Select New registration.

Fill in a name for your application, for example: TDM Power BI.
-
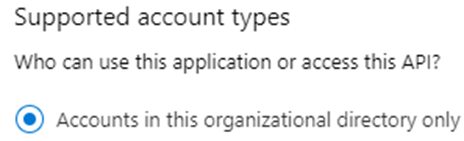
Set Supported account types to: Accounts in this organizational directory only.
-
Configure the following redirect URL:
https://socialmedia.tdmsignage.com/connect/powerbi.aspx
(Make sure a WEB platform is selected before adding the URL. This can also be edited later by going to the “Authentication” tab, selecting “Add a platform,” choosing the WEB platform, and adding the URL.) -
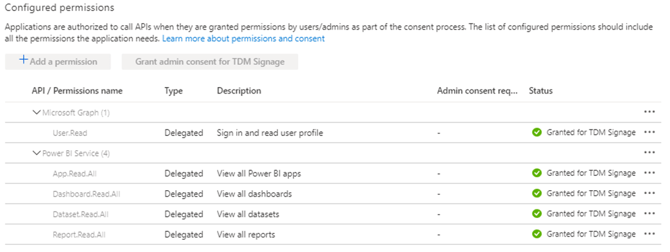
Once the application is created, open the API permissions tab and configure the required permissions. Also, make sure to grant Admin consent for your Tenant.
-
Next, go to Certificates & Secrets and create a new client secret:

Select New client secret and add a description, for example: TDM Power BI.
-
Once created, copy the value immediately — it will be encrypted once you leave the Azure Application page.
-
You can find the Tenant ID and Client ID in the Overview tab. You have now finished setting up the Azure application. The credentials you created will be required in the TDM Designer when you create a Power BI data source.
How To Set Up Power BI
Setting up the external data source
-
Log in to the Designer with an administrator account: https://designer.tdmsignage.com
-
Open the Config Panel from the menu on the left side.
-3.png?width=105&height=108&name=mceclip0%20(1)-3.png)
-
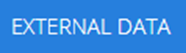
Open the External Data tab to view your data sources.
-
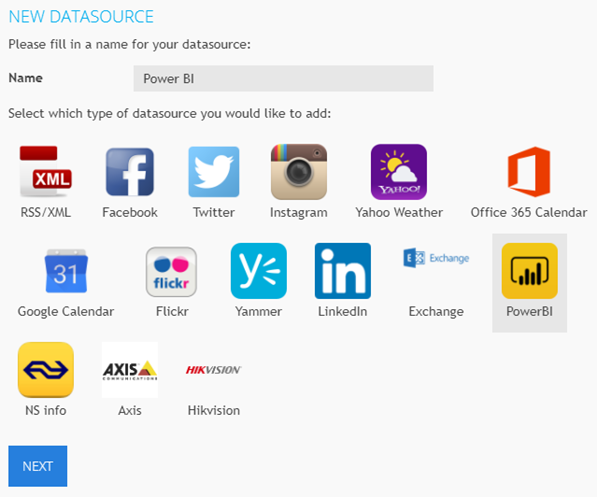
Click the + button on the right side to create a new data source.

-
In the pop-up window, fill in a name for your data source and select Power BI. Then click Next.
-
Fill in the Client ID, Tenant ID, and Client Secret created earlier following the Azure application setup guide.
-
Click Next and save the data source. You have now successfully configured the Power BI data source and can use it within your template design.
Using the Data Source Within Your Template Design
-
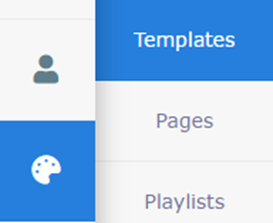
Open Content Creation from the menu on the left side and select Templates.
-
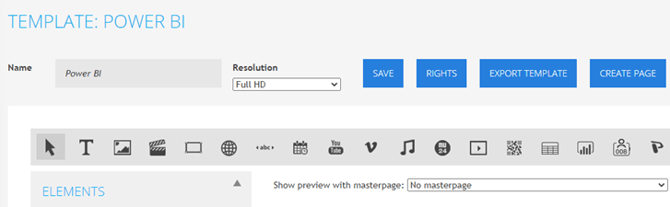
Create or edit a template. This will open the template editor.
-
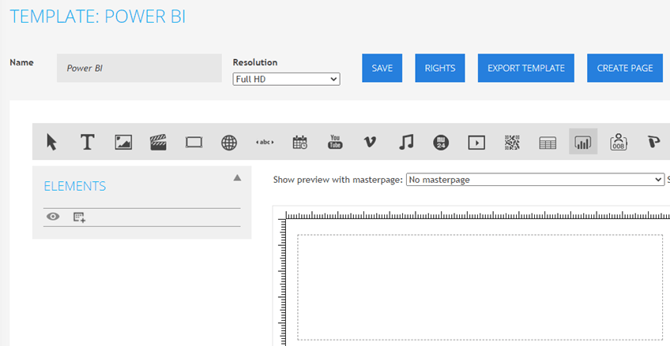
Select the Power BI element. It is represented by the following icon:

-
Click and hold the left mouse button to draw a frame in your template where the Power BI element will appear.
-
When you release the mouse button, a pop-up window will open — this is where you configure the Power BI element.
Fill in the following fields:
-
Tab: General
-
Name: Enter a name for the element, for example “Power BI.”
-
-
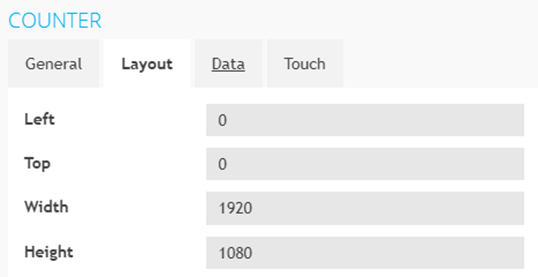
Tab: Layout
-
Tip: You can adjust the size of the element by selecting Show positions. Here, you can specify the size in pixels. For example, in Full HD, if you want the counter to be full screen, fill in the relevant pixel dimensions.
-
-
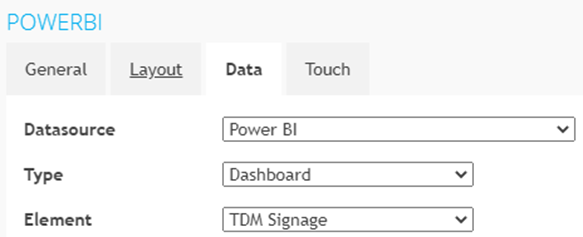
Tab: Data
-
Data Source: Select the Power BI data source created in the previous steps.
-
Type: Once the data source is selected, this option becomes available. Choose the type of workspace you want to display within the template (e.g., Dashboard).
-
Element: Once the data source is selected, this option also becomes available. The available options depend on the workspace type you selected. For example, select TDM Signage.
-
Once you have finished configuring all the fields, click Save. The pop-up will close, and the element will appear in the template editor.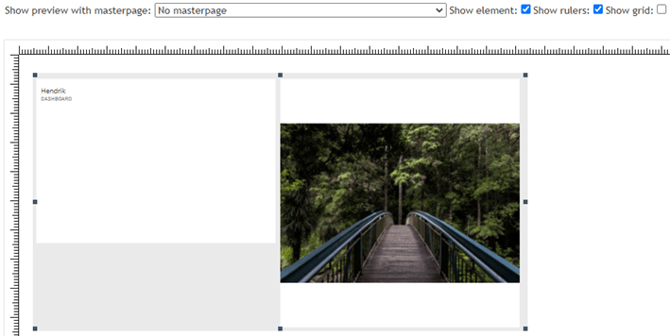
You have now successfully set up Power BI. You can add more elements to your template if needed. Once you finish your template, create a page based on it and add it to your playlist.