Introduction
TDM5 allows you to create your own designs using elements. Each element has configurable properties, giving you the flexibility to design content based on your needs.
This article explains how to add a slideshow element. Additional guides for other elements can be found in our knowledge base.
Requirements
To add a slideshow element to your page, you need the following:
-
Access to Designer > Pages with permission to create or edit a page.
How to Add a Slideshow
-
Log in to your TDM5 environment.
-
Select Designer.

-
Select the menu option Pages.

-
Open an existing page by clicking Edit, or create a new page by clicking Add new page.

-
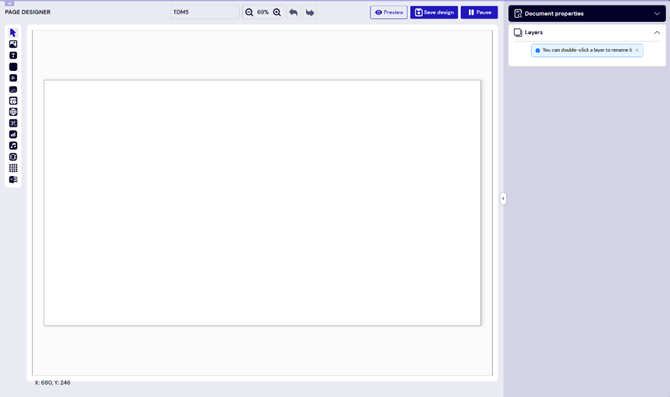
You will now be taken to the content editor, where you can design your page.
-
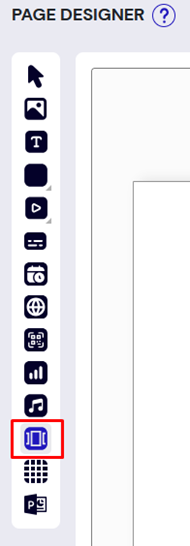
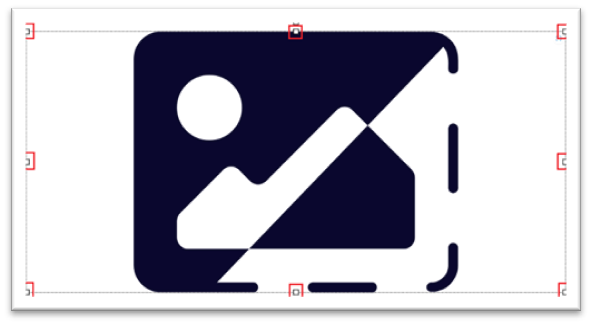
Select the Slideshow element from the menu on the left side of the screen.
-
Draw a frame in the template editor by clicking. Adjust the size of the element as needed, then click again to confirm.
-1.png?width=670&height=445&name=blobid1%20(1)-1.png)
-
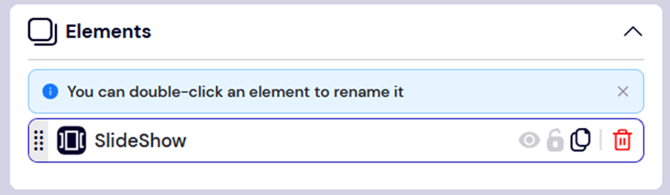
Configure the element properties on the right side of the page: To change the name, double-click the element in the Elements section.
-
In the Element layout section, adjust the position and rotation if needed.
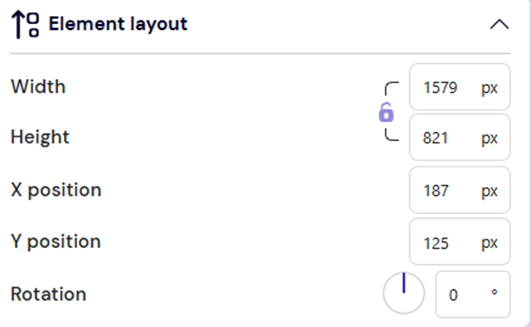
Resize the element by dragging its border.
Rotate the element using the dot at the top.
.png?width=416&height=230&name=blobid4%20(1).png)
-
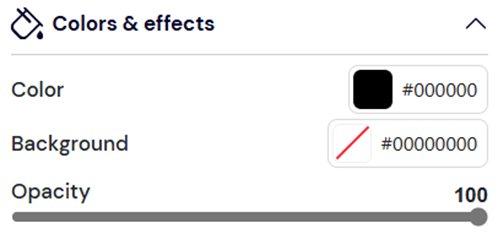
In the Colors & effects section, adjust opacity and configure text and background colors if needed.
-
In the Slide section, choose how to add images:Select images: Opens the Media Library, where you can choose existing images or upload new ones. You can also select images from Dropbox or OneDrive.
Connect to a data source: Select a data source and value. The slideshow will automatically display all images from that source.
Once completed, you have successfully added a slideshow element. You can continue designing and add additional elements as needed.