Introduction
TDM5 allows you to create your own designs using elements. Each element has configurable properties, giving you the flexibility to create content to match your needs.
This article explains how to add a table element to a page. With the table element, you can add custom tables to your design.
Requirements
To add a table to your page, you need the following:
-
Access to Designer > Pages
-
Permission to create or edit a page
How to add a table
-
Log in to your TDM5 environment.
-
Select Designer.

-
Open the menu option Pages.

-
Open an existing page by selecting Edit,

or create a new page using the Add new page button.
-
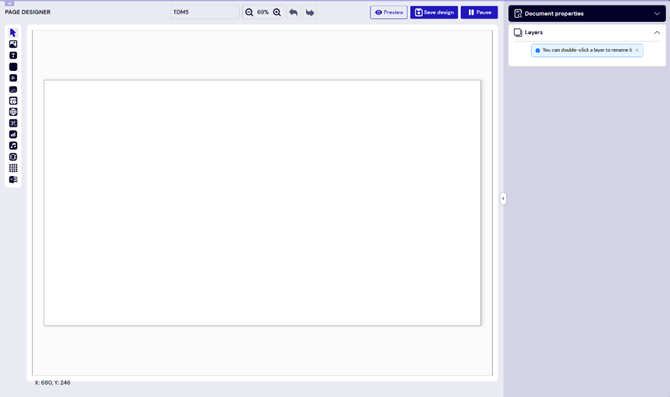
You will be taken to the content editor, where you can design your page.
-
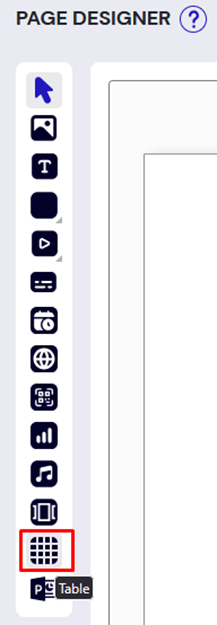
From the menu on the left, select the Table element.
-
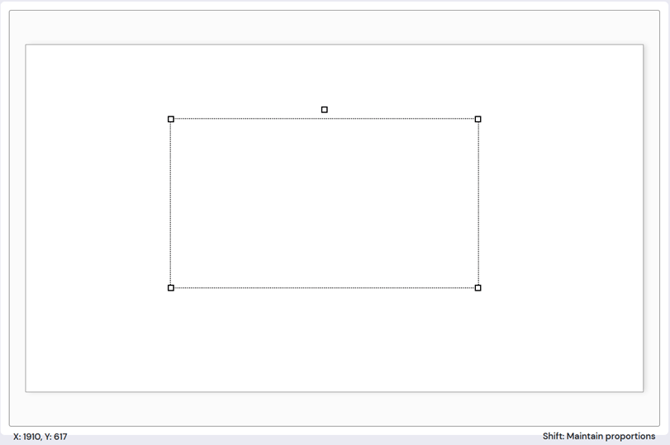
Draw a frame in the template editor. Adjust the size by clicking again when you’re satisfied.
-
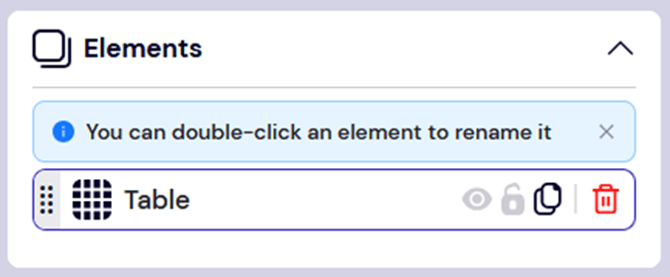
On the right side of the page, configure the properties of the element. To change the name, double-click the element in the Elements section.
-
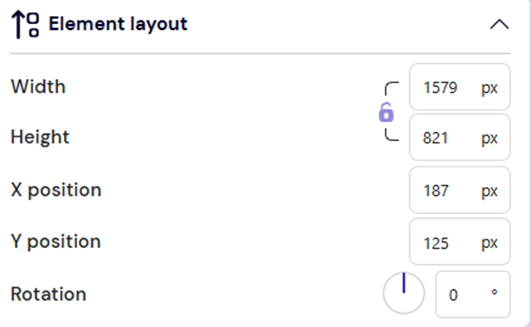
In the Element layout section, adjust the position or rotation of the element if needed.
-
The size can also be changed by selecting the border.
-
Rotation can be set using the dot at the top of the element.
.png?width=416&height=230&name=blobid4%20(1).png)
-
-
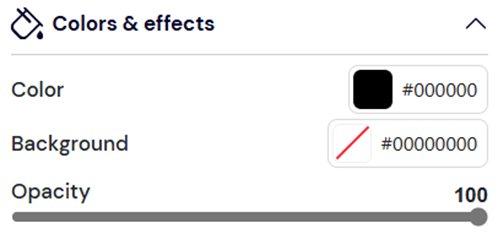
In the Colors & effects section, set a background color for the table, change the text color, or adjust the Opacity to make the text transparent.
-
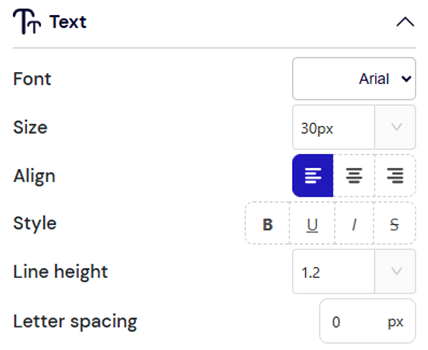
In the Text section, configure text properties or link the element to a data source. Options include:
-
Font – choose the font for the text
-
Text size – set the size of the text
-
Alignment – adjust text alignment
-
Style – apply styling such as bold or italic
-
Line height – define the line spacing
-
Letter spacing – define the space between characters
-
-
In the Table section, define the table properties.
-
Set the number of columns and rows
-
Enable or disable borders, and adjust the color and thickness
-
Select a Data source to automatically populate the table with external data
-
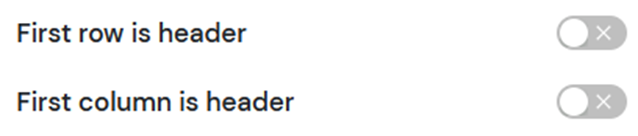
Use the options for First row and/or First column to exclude them from being populated with data
-
-
In the Touch section, configure content to be displayed when the element is pressed. This is useful for touch-enabled devices.
You have now successfully added a table to your design. You can continue adding other elements as needed.