Introduction
TDM5 supports different kinds of Android devices.
This manual explains how TDM5 can be configured for a ProDVX tablet. ProDVX has several models however the configuration is similar. For this guide a ProDVX APPC – 10XPLN has been used.
Requirements
If you want to install and use the TDM5 application on a ProDVX tablet you need to meet the following requirements:
- Have a ProDVX tablet running Android 8 or higher
- Have an active player license within your TDM5 account.
- (Additional) Have an USB stick with the TDM Android Player APK file on it.
How To configure a ProDVX tablet with TDM5
Download the TDM5 application
- Log in to https://tdm5.tdmsignage.com
- Navigate to the environment that the devices will be connected to.
- Select “Devices > Players”.
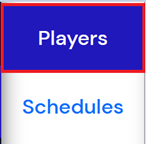
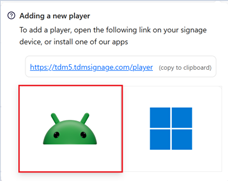
- On the top right select “How do I add a new player”.

- Select the Android icon to download the TDM5 Android player.
Install TDM5 using ADB
This method uses the ADB (Android Debug Bridge) protocol to make a connection with the device and install the application.
- Install the ADB Platform tools: https://developer.android.com/tools/releases/platform-tools
- Extract the folder to a desired location on your workstation. You will now have a folder called “platform-tools”, in this folder we can run commands.
- Once in the folder with the “adb.exe” file, select the navigation bar.

Remove its contents and type “cmd”. A command prompt will open in the platform tools folder.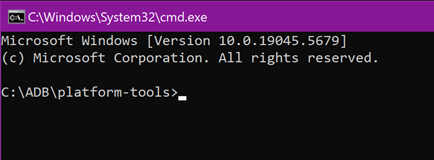
Enter “adb devices” to make sure ADB is functioning.
- Make sure “ADB Debugging” is enabled on the device.
- Navigate to settings
- Select “About device”
- Search for the “Build number” and tap this 7 times, this will enable developer options
- Head back to “System” and select “Developer options”
- Search for ADB Debugging and enable this, and if there also enable “ADB Debugging over TCP” - Place the TDM5 application in the same folder as where adb.exe is located.
- Now a connection from the workstation to the tablet can be made. This can be done in 2 different ways:
- With a micro-USB cable
- With a network connection and the IP address of the tablet
Cable
- Connect a micro-USB cable from the workstation to the tablet.
- Type “adb devices” in the command prompt.
A list of devices will be returned. - Type “adb install TdmPlayerForAndroid.apk”. This will install the application on the device.

IP address
- Make sure the tablet has a network connection to the same network as the workstation.
- Navigate to the settings of the tablet and select “About”.
- If the device has a network connection it will show an IP address.
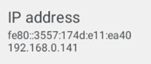
- In command prompt enter “adb connect <IP ADDRESS>”, where you would replace <IP ADDRESS> with the IP of the device.

- Enter “adb install TdmPlayerForAndroid.apk”. This will install the application on the device.

Install TDM5 using a USB stick
This method uses an USB stick to install TDM5.
- Insert a USB stick in to the workstation and put the TDM5 application on it.
- Then insert the USB stick into the tablet.
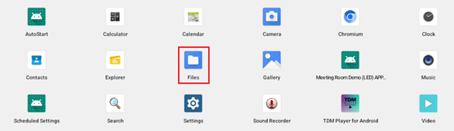
- On the tablet select the “Files” application.
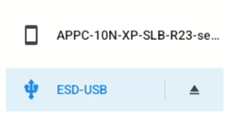
- The USB will be located on the left side.
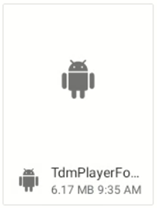
- Navigate to the location of the TdmPlayerForAndroid.apk and click it, the installation will start.
Select "Continue" when the pop-up appears and select install. The application is now installed.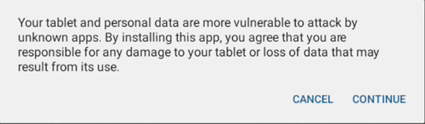
Settings
- Navigate to "Apps" and select “See all apps”
- Search for the “TDM5 Android Player” application that has just been installed and select "Battery".
- Make sure this is set to “Unrestricted”.
- Go back to the overview of the “TDM5 Android Player” and go to “Display over other apps”, this must be allowed.
The tablet is now ready to be used for TDM5.
Additional settings
1. Navigate to “System” and then “Digital signage options”. In here are settings related to digital signage.
- Enable Physical Buttons: With this the physical buttons on the tablet can be disabled.
- Enable touch panel function: With this the touch interactions on the screen can be disabled.
- Enable touch wakeup: With this the wakeup on touch can be disabled.
- Enable USB-A function: With this the USB-A port on the tablet can be disabled.
- Enable Pogo Pin port’s function: With this the Pogo Pin ports on the tablet can be disabled.
- Schedule: With this a schedule for the tablet can be setup.
- Auto Start Application: With this you can specify a application to automatically start when the tablet turns on.