Introduction
TDM5 offers the ability to add external data sources. With these data sources, TDM5 can display real-time information within your presentation.
This manual explains how to set up a Zermelo data source.
Requirements
If you want to set up a Zermelo data source, you need to meet the following requirements:
-
Administrator access to your TDM5 environment
-
The URL for the Zermelo API (usually something like https://myschool.zportal.nl/api)
-
An API key that grants access to the schools and branches
How to set up a Zermelo data source
-
Log in to your TDM5 environment using an administrator account.
-
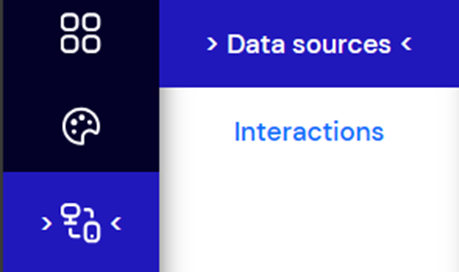
Select Interactions.

-
Select the menu option Data sources.
-
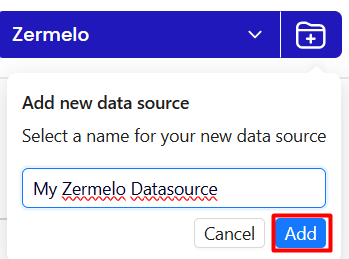
Select Zermelo and press Create new on the right to create a new data source.

-
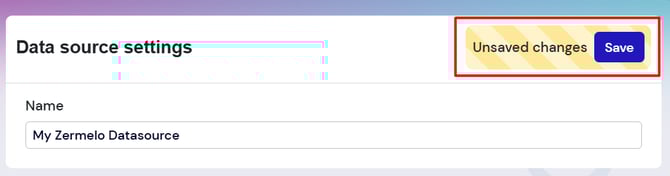
Enter a name for your Zermelo data source and press Add.
-
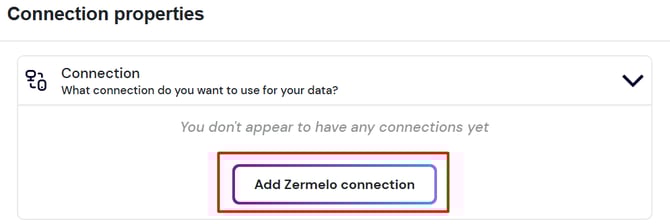
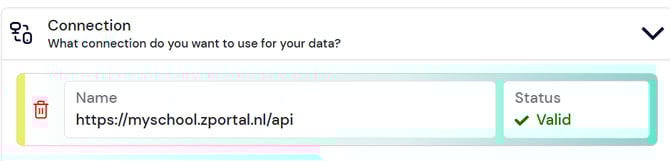
On the new page, expand the Connection menu. If you already have a Zermelo connection, simply select it by clicking on it.
-
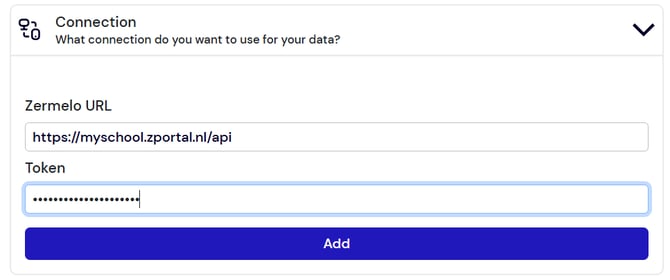
Enter your Zermelo URL and Token, then press Add to save the connection.
-
If the provided details are correct, the connection will now be added and show a Valid status.
-
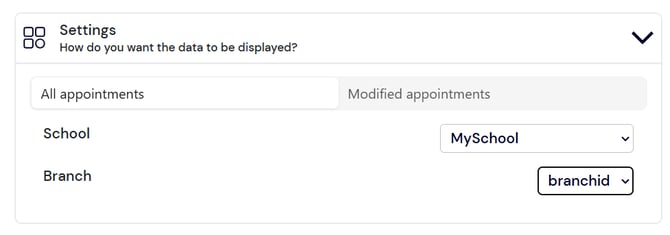
Expand the Settings menu and select the school and branch you would like to use for this data source.
-
You can create a separate data source for each school, reusing the same connection created above.
-
It is also possible to choose whether to display all changed appointments or only those modified to a new location (excluding cancellations).
-
-
Press Save at the top to store your data source.
You have successfully created a Zermelo data source, which can now be used in your content.
How to display Zermelo data on a page
-
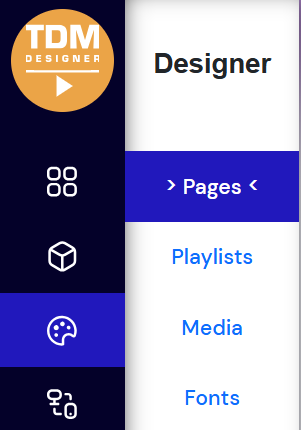
Navigate to Designer > Pages.
-
Create a new page by pressing Add new page, enter a name, and press Add.

-
To display appointment times from your feed:
-
Select the Date and Time element from the element list.
-
Drag a frame on the canvas where you want the element to appear.

-
-
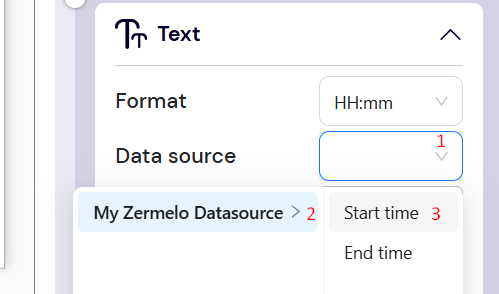
On the right-hand side, open the dropdown under Data source, select your Zermelo data source, and then choose Start time or End time.
-
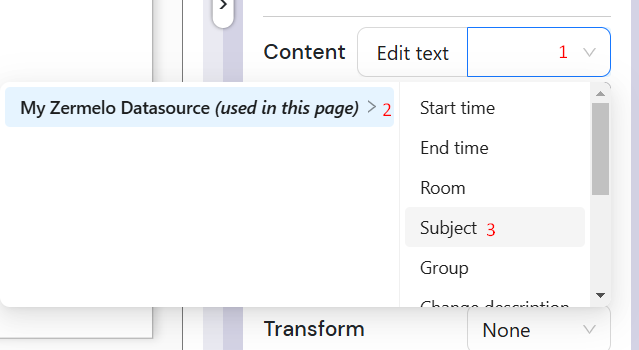
To display other information (e.g. subject or location), select the Text element and drag it onto the canvas.

-
In the Text properties panel on the right, open the dropdown next to Content, select your Zermelo data source, and choose the desired field (e.g. Subject).
-
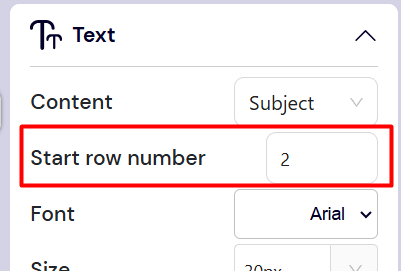
The element will now display the data for the first record in the list. To display subsequent records, duplicate the element and change the Start row number under the data source settings (e.g. 2 or higher).
You have now successfully added and linked your Zermelo data source to a page in TDM5.