Introduction
TDM5 offers the ability to create your own designs using elements. Each element has its own configurable properties, allowing you to build content based on your specific needs.
With the Power BI element, you can display Reports, Tiles, and Dashboards created and maintained in Power BI.
This manual explains how to create an Entra ID (Azure AD) application for Power BI integration.
Requirements
To set up Power BI in TDM5, you need to meet the following requirements:
-
Access to the Microsoft Azure (Entra ID) platform
-
Permissions to create and configure applications
How to create an Entra ID application for Power BI
-
Sign in to your Azure account at https://entra.microsoft.com.
-
Navigate to Applications > App registrations.
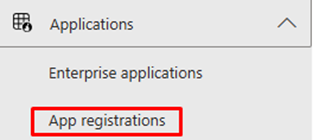
Select New registration.
-4.png?width=211&height=53&name=blobid0%20(1)-4.png)
Enter a name for your application, for example: TDM5 Power BI.
-
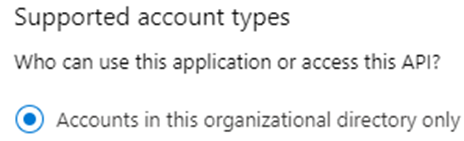
Under Supported account types, select Accounts in this organizational directory only.
-
Configure the Redirect URL as follows:
-
URL:
https://tdm5.tdmsignage.com/DataSources/PowerBiLogin -
Platform: Web
-
(If needed, you can edit this later by going to the Authentication tab → Add a platform → select Web, and add the same URL.)
-
-
Once the application has been created, open the API permissions tab. Configure the required Power BI API permissions according to your organization’s needs.

-
Open the Certificates & Secrets tab and select New client secret. Add a description (e.g., TDM5 Power BI) and create the client secret.

-
Copy the Client Secret Value immediately — it will be hidden once you leave the page. In the Overview tab, note down both the Tenant ID and Client ID.
You have now completed the Azure setup. The credentials you have created need to be configured in the TDM Designer. They will be requested once you create a Power BI data source in TDM.
How to connect Power BI in TDM5
-
Log in to your TDM5 environment using an administrator account.
-
Select Interactions.

-
Select the menu option Data sources.

-
Click Create new data source, choose Power BI, enter a name for your data source, and select Create.
-
Fill in the details you copied from your Entra ID application — Tenant ID, Client ID, and Client Secret. Click Grant Permission.
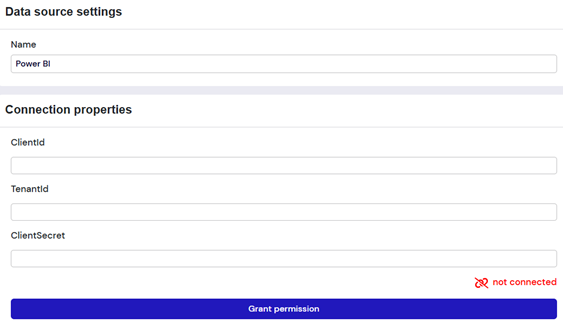
If the credentials are valid and the permissions are correctly configured, the data source status will show as Connected.
You have now successfully set up the Power BI data source.
You can continue with the manual “TDM5 – How to add Power BI” to add the Power BI data source into your design.